News
Custom Embroidery: Turning Your Idea into a Professional Embroidery File
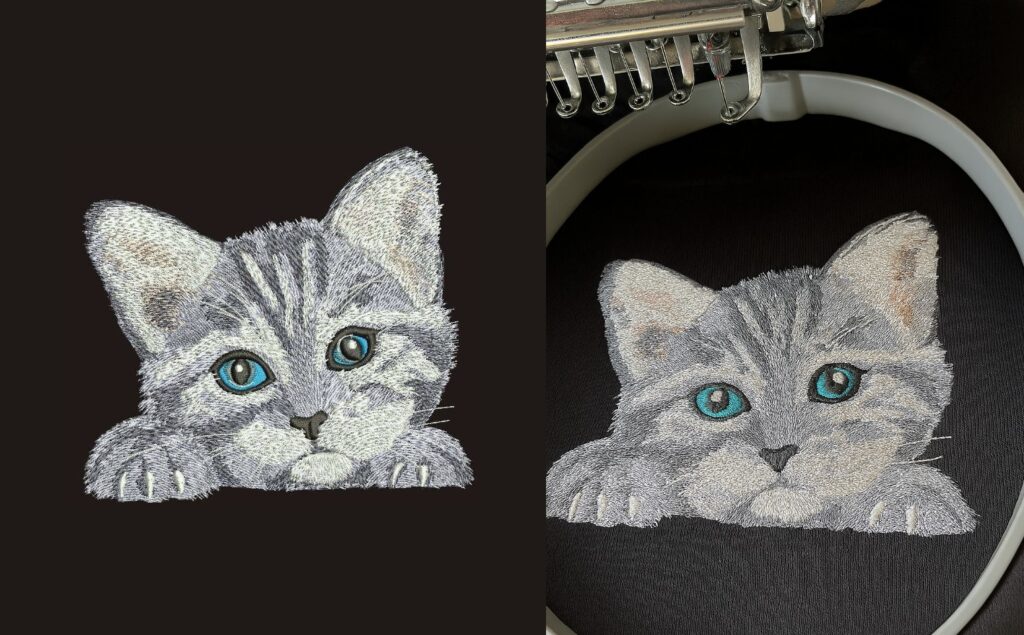
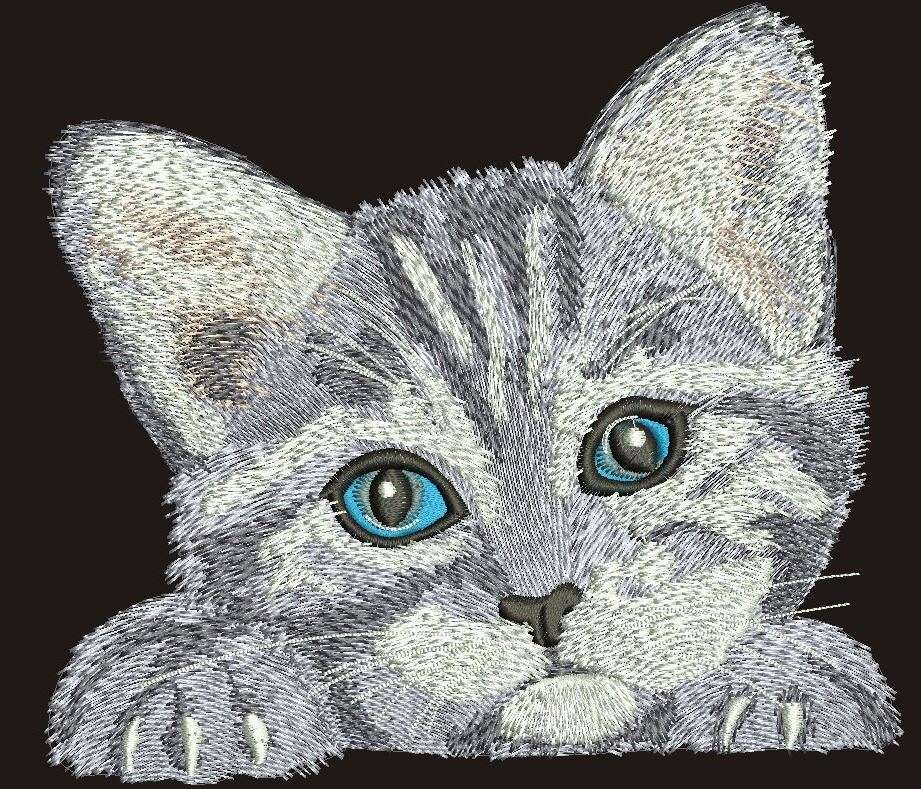
Embroidery has long been a beautiful and tactile form of personal expression, a fusion of art and craftsmanship. In today’s digital era, custom embroidery has become more accessible than ever, allowing anyone—from hobbyists to business owners—to bring their ideas to life with precision and polish. But before a sewing machine can begin to stitch, every design must first be transformed into a professional embroidery file.
So what does that process involve? How do you go from a sketch or logo to a finished piece of stitched art? In this article, we’ll guide you through every step, from concept to file creation, and offer valuable tips to ensure your custom embroidery project is a success.
What Is a Professional Embroidery File?
At the heart of machine embroidery lies a specialized file known as a digitized embroidery file. This file tells the embroidery machine how to sew the design: what shapes to create, what stitches to use, where to start and stop, and how to layer different parts of the image.
Unlike a regular image file (like JPG or PNG), an embroidery file must contain detailed stitch instructions. Common formats include .DST (used by Tajima machines), .PES (for Brother machines), .EXP, .JEF, and others. These files are not “graphic images” but rather maps for the machine to follow.
The Custom Embroidery Workflow: From Idea to File
Let’s break down the custom embroidery process into key steps:
Step 1: Define Your Idea
It all starts with a vision. You might want to:
-
Embroider your company’s logo on uniforms
-
Create custom patches for a hobby group
-
Personalize a gift with initials or a quote
-
Turn your hand-drawn art into wearable embroidery
Your idea can begin as a sketch, a digital drawing, or even a photo. The important part is knowing what you want embroidered, where, and how big.
💡 Tip: Simpler designs with bold shapes and clear lines often translate better into embroidery than overly detailed or shaded images.
Step 2: Choose the Placement and Fabric
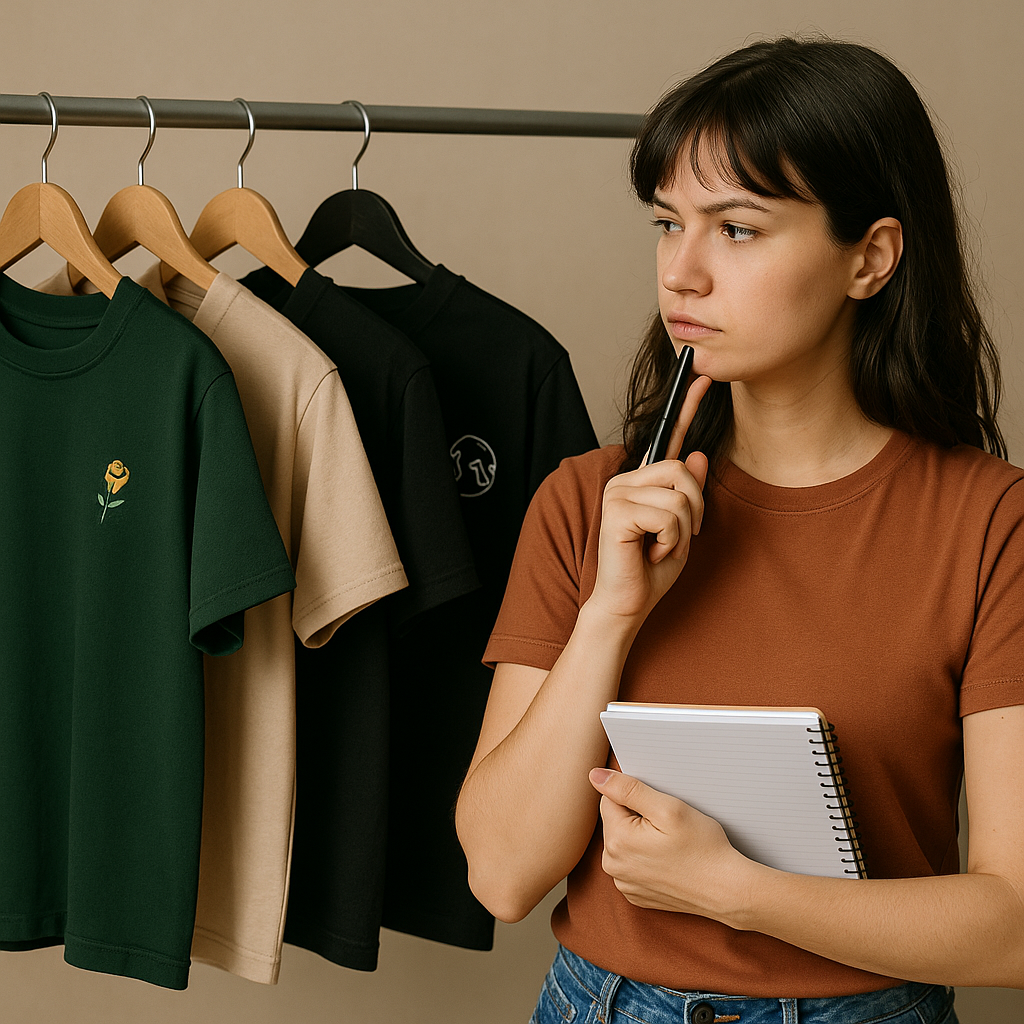
Where will this design go? The placement and material type significantly impact how the file should be created.
-
Common placements: chest logos, sleeve emblems, back designs, cap fronts, tote bags, patches, etc.
-
Fabric types: t-shirts, denim, canvas, fleece, nylon, hats, towels
Each material has its own behavior under the needle. For instance, stretchy fabrics may require stabilizers, while thick fabrics might need different tension or density settings in the file.
🧵 Key point: Always consider fabric type, stretchiness, texture, and color when preparing for embroidery.
Step 3: Create or Select the Artwork
Once your concept and fabric are decided, it’s time to lock in the artwork.
-
You can create your own artwork in vector software like Adobe Illustrator or free tools like Inkscape.
-
You can hand-draw and scan your art to send to a digitizer.
-
You can hire a designer or illustrator to help with concept development.
The artwork doesn’t need to be “machine ready” at this stage, but it should be clean and clear, with all elements finalized.
Step 4: Digitizing – The Magic Step
Digitizing is the process of converting your image into an embroidery machine-readable file.
Contrary to popular belief, this is not just a file conversion (like changing .JPG to .PNG). It requires manual interpretation and creativity by a digitizer, using specialized software like:
-
Wilcom
-
Hatch Embroidery
-
Pulse
-
Brother PE-Design
-
Embrilliance

A skilled digitizer will:
-
Choose the right type of stitches (satin, fill, running) for each element
-
Determine the stitch direction, density, and order of layers
-
Add underlay stitches to stabilize the design
-
Minimize thread breaks and optimize efficiency
-
Adjust for fabric type and hooping constraints
Without proper digitizing, even a beautiful image can produce a messy, unwearable embroidery result.
📌 Pro tip: Always work with an experienced digitizer or use reputable digitizing services, especially for business logos or commercial products.
Step 5: Testing and Adjustments
Once the file is complete, it’s time to test it on the actual machine and fabric type.
Why test?
-
To check for issues like puckering, thread breaks, or misalignment
-
To ensure colors and size appear as expected
-
To see if fine details hold up under stitching
Often, small adjustments are needed: changing stitch direction, adjusting density, simplifying tiny details, or shifting elements slightly.
Don’t skip this step. Testing can save you time, money, and headaches—especially on large production runs.
Understanding Stitch Types in Embroidery Files
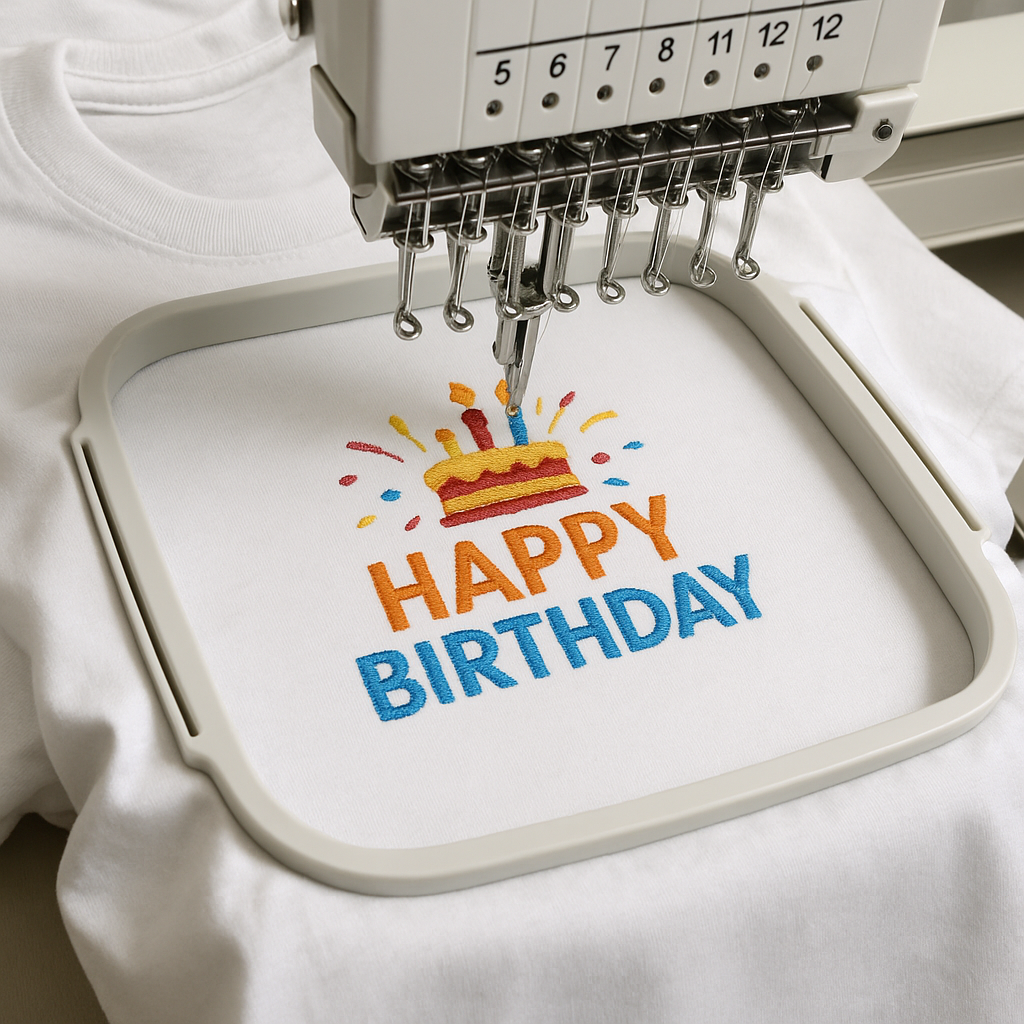
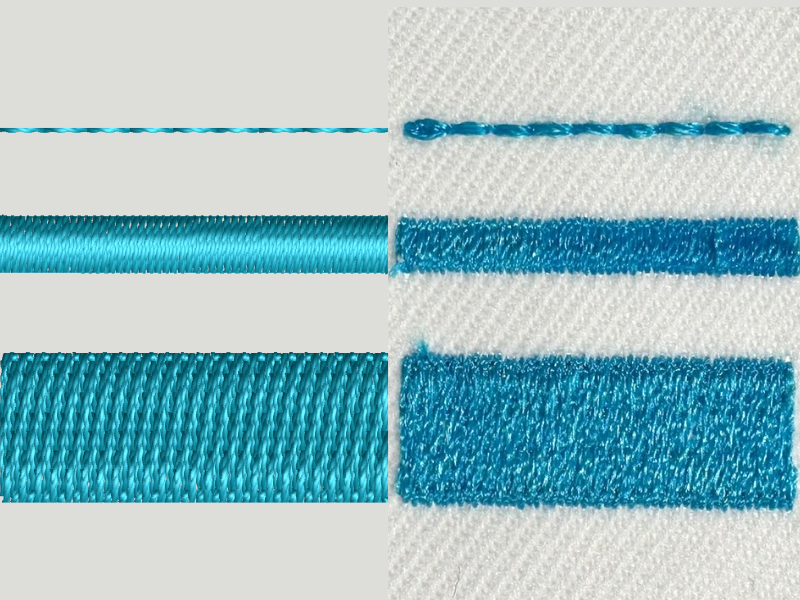
Here’s a quick overview of the three main stitch types used in embroidery files:
● Satin Stitch
Used for borders, text, and thin shapes. Satin stitches are smooth and shiny, ideal for clean outlines and small lettering (above 4mm height).
● Fill Stitch
Used for larger areas like logos or background shapes. Fill stitches cover big spaces with a structured pattern and are less prone to pulling.
● Running Stitch
A thin, straight stitch used for outlines, fine detail, or underlays. Running stitches can also be used for simple line art.
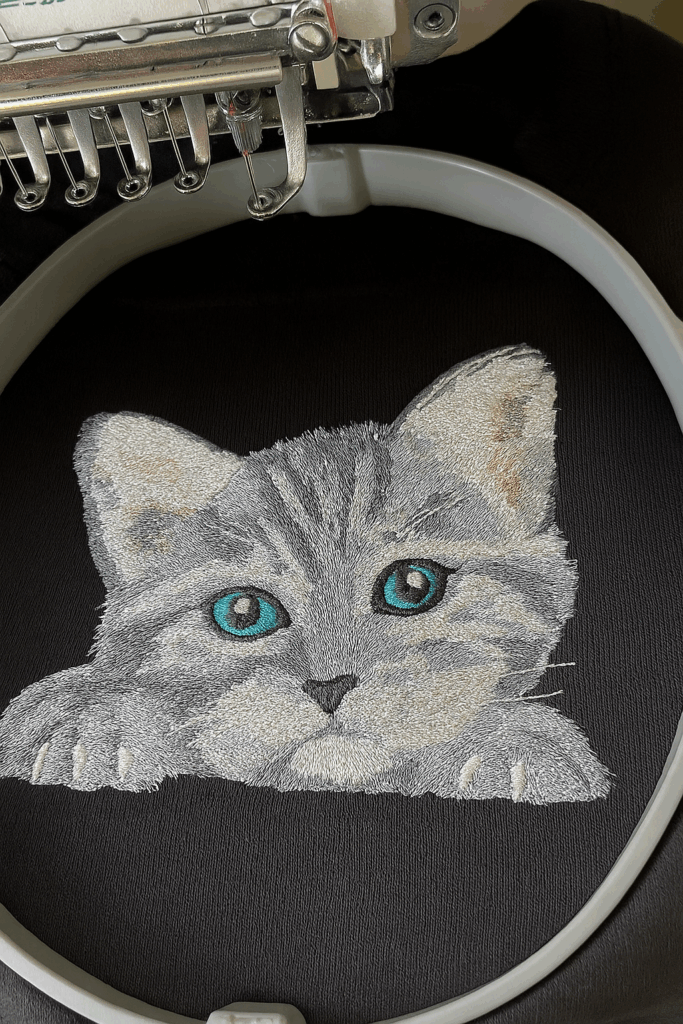
A great digitizer knows how to balance these stitch types for optimal results.
Tips for a Successful Custom Embroidery Project
✅ Start Simple
If you’re new to custom embroidery, begin with small projects like monograms, patches, or basic logos. These are easier to digitize and stitch cleanly.
✅ Communicate Clearly with Your Digitizer
Provide:
-
The artwork (preferably vector or high-res PNG/JPG)
-
Size specifications (in cm or inches)
-
Fabric type
-
Placement (left chest, hat front, etc.)
-
Machine type or preferred file format
The more details you give, the better your results.
✅ Avoid Tiny Text and Thin Lines
Small lettering (below 4mm) may not sew clearly. Try bold fonts, avoid serifs, and keep your text readable.
✅ Match Thread Colors Thoughtfully
Some thread colors look very different under different lighting or on different fabrics. Test color swatches when possible.
Custom Embroidery File Services: What to Expect
When you hire a custom digitizing service, here’s what a typical process might include:
| Step | Description |
|---|---|
| 1 | Submit your artwork and requirements |
| 2 | Receive a quote (usually based on stitch count or complexity) |
| 3 | File is digitized (often within 24–72 hours) |
| 4 | Receive the final embroidery file (.DST, .PES, etc.) |
| 5 | Option for revisions after test stitch |
| 6 | Ready to embroider on your machine |
Pricing can range from $10 to $50+ per design, depending on complexity, number of colors, and turnaround time.
Common Challenges and How to Solve Them
🧶 Puckering Fabric
Usually caused by improper tension, lack of stabilizer, or overly dense stitching. Fix by adjusting file density and using correct stabilizers.
🧶 Text Not Legible
Text might be too small or too thin. Increase size or use a bolder font.
🧶 Thread Breaks
Could be due to wrong stitch type or sequencing. Ask your digitizer to revise the pathing.
🧶 Shifting Design
Improper hooping or loose fabric may cause distortion. Use the right hoop size and stabilizer combo.
The Future of Custom Embroidery
As machine embroidery technology evolves, we’re seeing exciting innovations:
-
AI-powered digitizing tools that assist or automate parts of the process
-
3D puff embroidery, creating raised effects for caps or patches
-
Mixed media embroidery, blending thread with appliqué, sequins, or print
-
Home embroidery machines with Wi-Fi and smartphone integration
-
On-demand custom shops, letting customers upload designs for fast embroidery on clothing, bags, and more
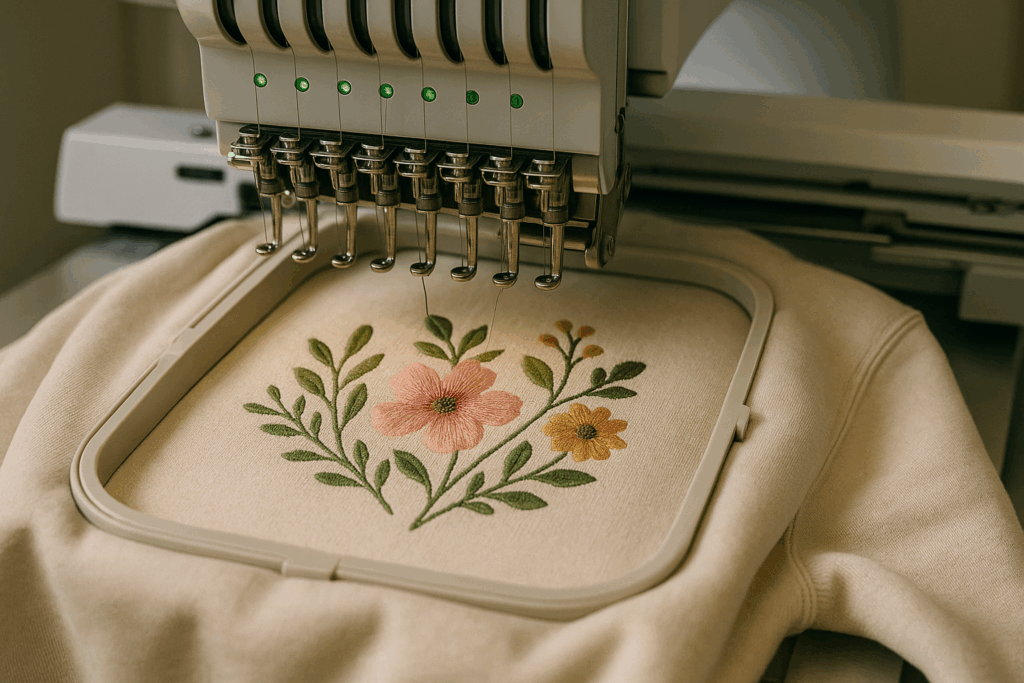
These advancements are making embroidery more creative, scalable, and user-friendly than ever before.
Conclusion: Your Idea, Professionally Stitched
Custom embroidery is more than just decoration—it’s a form of storytelling. Whether you’re a small business owner branding embroidered shirts, an artist turning drawings into textiles, or simply someone who wants a personalized touch, custom embroidery lets you bring your ideas into the physical world.
But remember: the key to beautiful, high-quality embroidery starts with a professional embroidery file. It’s the bridge between art and machine—a technical yet creative process that, when done right, results in clean stitches, vibrant texture, and a finished piece you’ll be proud to wear or share.
So next time you have a vision, don’t stop at the sketch. Let it evolve into stitches.


